


For those who are not familiar with n8n, it is a workflow automation tool that allows users to connect apps, automate tasks, and build custom integrations with no-code and low-code options.
Here are a few automation examples using n8n:
- Lead Capture & CRM Update – Automatically collect leads from a form and add them to HubSpot or Salesforce.
- Social Media Auto-Posting – Schedule and post content across Twitter, LinkedIn, and Instagram.
- Email Marketing Automation – Sync new subscribers from a website to Mailchimp and send a welcome email.
- AI-Powered Content Generation – Use OpenAI to generate text and send it to a Google Sheet or blog.
- E-commerce Order Processing – Notify Slack when a new Shopify order is placed and update Google Sheets.
- Customer Support Ticketing – Create a Zendesk ticket automatically when a user submits a support request.
- Data Scraping & Reporting – Extract data from websites and generate automated reports in Notion or Google Docs.
What can n8n do?

If you have not created a free VM instance from any cloud provider, refer to this Google Cloud tutorial.
Full Youtube Video Tutorial:
1.Update VM & Install Required Dependencies
The steps may differ based on the Linux distribution. For detailed instructions, refer to the Docker documentation.
For Ubuntu:
sudo apt-get remove docker docker-engine docker.io containerd runc
sudo apt-get update

sudo apt-get install ca-certificates curl gnupg lsb-release

sudo mkdir -p /etc/apt/keyrings
curl -fsSL https://download.docker.com/linux/ubuntu/gpg | sudo gpg --dearmor -o /etc/apt/keyrings/docker.gpg

echo "deb [arch=$(dpkg --print-architecture) signed-by=/etc/apt/keyrings/docker.gpg] https://download.docker.com/linux/ubuntu $(lsb_release -cs) stable" | sudo tee /etc/apt/sources.list.d/docker.list > /dev/null

sudo apt-get update
For Debian 12:
sudo rm -f /etc/apt/sources.list.d/docker.list
sudo apt update

sudo apt install -y ca-certificates curl gnupg

sudo install -m 0755 -d /etc/apt/keyrings
curl -fsSL https://download.docker.com/linux/debian/gpg | sudo tee /etc/apt/keyrings/docker.asc > /dev/null
sudo chmod a+r /etc/apt/keyrings/docker.asc

echo "deb [arch=$(dpkg --print-architecture) signed-by=/etc/apt/keyrings/docker.asc] https://download.docker.com/linux/debian bookworm stable" | sudo tee /etc/apt/sources.list.d/docker.list > /dev/null

sudo apt update
2. Install Docker & Docker-Compose
For Ubuntu:
sudo apt-get install docker-ce docker-ce-cli containerd.io docker-compose-pluginFor Debian 12:
sudo apt install -y docker-ce docker-ce-cli containerd.io docker-buildx-plugin docker-compose-plugin3. DNS setup
Add A Record to route the subdomain accordingly:
[Optional] You can refer to this Hostinger Guide.
Type: A
Name: n8n (or the desired subdomain)
IP address: <IP_OF_YOUR_SERVER>
4. Create a Docker Compose file
- Create a
docker-compose.ymlfile.
sudo vi docker-compose.yml- Paste the following in the file:
version: "3.7"

services:
  traefik:
    image: "traefik"
    restart: always
    command:
      - "--api=true"
      - "--api.insecure=true"
      - "--providers.docker=true"
      - "--providers.docker.exposedbydefault=false"
      - "--entrypoints.web.address=:80"
      - "--entrypoints.web.http.redirections.entryPoint.to=websecure"
      - "--entrypoints.web.http.redirections.entrypoint.scheme=https"
      - "--entrypoints.websecure.address=:443"
      - "--certificatesresolvers.mytlschallenge.acme.tlschallenge=true"
      - "--certificatesresolvers.mytlschallenge.acme.email=${SSL_EMAIL}"
      - "--certificatesresolvers.mytlschallenge.acme.storage=/letsencrypt/acme.json"
    ports:
      - "80:80"
      - "443:443"
    volumes:
      - traefik_data:/letsencrypt
      - /var/run/docker.sock:/var/run/docker.sock:ro

  n8n:
    image: docker.n8n.io/n8nio/n8n
    restart: always
    ports:
      - "127.0.0.1:5678:5678"
    labels:
      - traefik.enable=true
      - traefik.http.routers.n8n.rule=Host(`${SUBDOMAIN}.${DOMAIN_NAME}`)
      - traefik.http.routers.n8n.tls=true
      - traefik.http.routers.n8n.entrypoints=web,websecure
      - traefik.http.routers.n8n.tls.certresolver=mytlschallenge
      - traefik.http.middlewares.n8n.headers.SSLRedirect=true
      - traefik.http.middlewares.n8n.headers.STSSeconds=315360000
      - traefik.http.middlewares.n8n.headers.browserXSSFilter=true
      - traefik.http.middlewares.n8n.headers.contentTypeNosniff=true
      - traefik.http.middlewares.n8n.headers.forceSTSHeader=true
      - traefik.http.middlewares.n8n.headers.SSLHost=${DOMAIN_NAME}
      - traefik.http.middlewares.n8n.headers.STSIncludeSubdomains=true
      - traefik.http.middlewares.n8n.headers.STSPreload=true
      - traefik.http.routers.n8n.middlewares=n8n@docker
    environment:
      - N8N_HOST=${SUBDOMAIN}.${DOMAIN_NAME}
      - N8N_PORT=5678
      - N8N_PROTOCOL=https
      - NODE_ENV=production
      - WEBHOOK_URL=https://${SUBDOMAIN}.${DOMAIN_NAME}/
      - GENERIC_TIMEZONE=${GENERIC_TIMEZONE}
    volumes:
      - n8n_data:/home/node/.n8n

volumes:
  traefik_data:
    external: true
  n8n_data:
external: true- Press Esc, then type the below to write and quit.
:wq5. Create an Environment file.
- Create an
.envfile.
sudo vi .env- Paste the following in the file and change it accordingly.
# The top level domain to serve from
DOMAIN_NAME=MrTechKing.com

# The subdomain to serve from
SUBDOMAIN=n8ndemo

# DOMAIN_NAME and SUBDOMAIN combined decide where n8n will be reachable from
# above example would result in: https://n8ndemo.MrTechKing.com

# Optional timezone to set which gets used by Cron-Node by default
# If not set New York time will be used
GENERIC_TIMEZONE=Singapore/Singapore

# The email address to use for the SSL certificate creation
SSL_EMAIL=tong@mrtechking.com- Press Esc, then type the below to write and quit.
:wq6. Create a data folder
Create the Docker volume that's defined as n8n_data. n8n will save the database file from SQLite and the encryption key in this volume.
sudo docker volume create n8n_dataCreate a volume for the Traefik data, This is defined as traefik_data.
sudo docker volume create traefik_data7. Start Docker Compose
Start n8n docker container:
sudo docker compose up -dTo stop the n8n docker container:
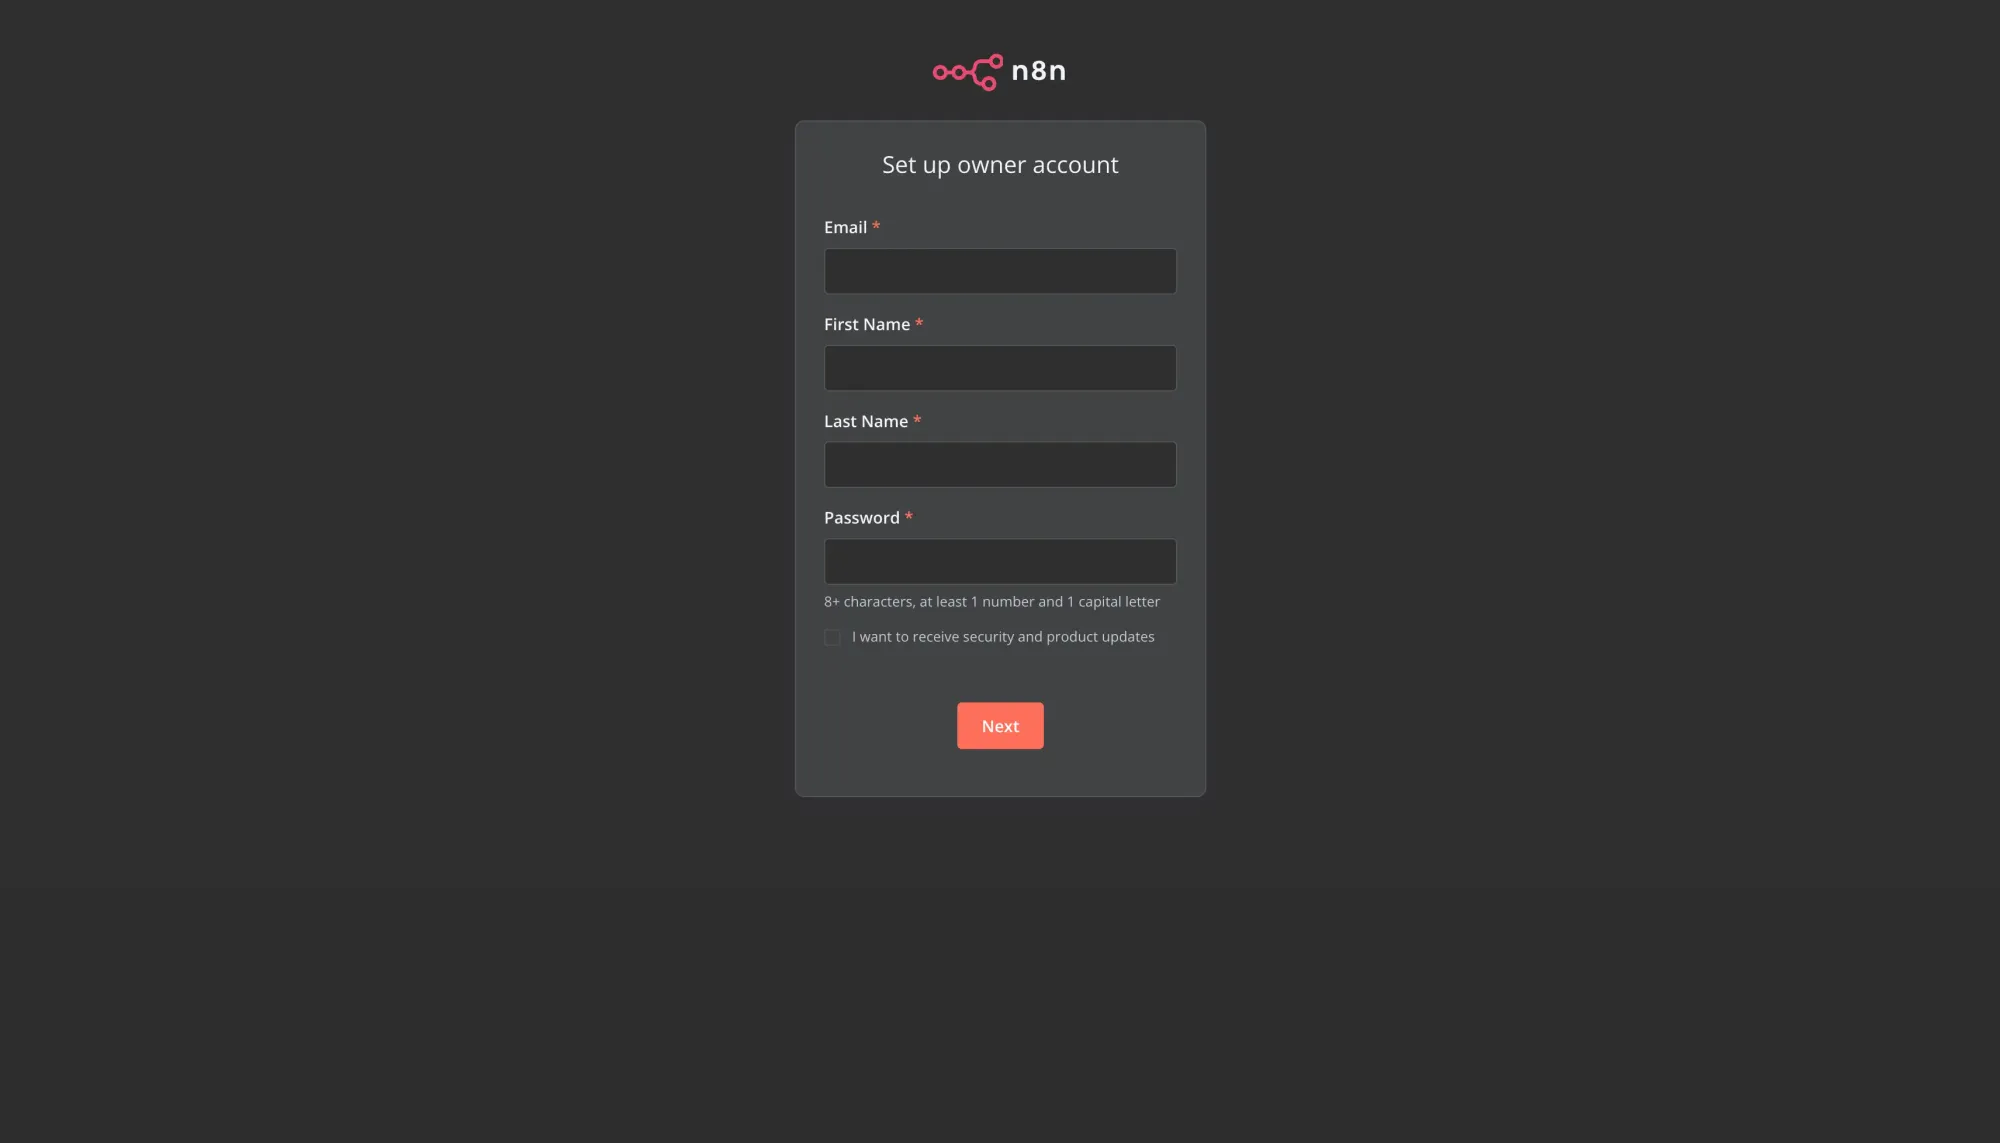
sudo docker compose stop8. Setup Credential
Now your n8n will be reachable using your custom https://n8n.yourwebsite.com. n8n will only be reachable using https and not using http.
*Take note: It might not work immediately after the docker container starts running. Go get a coffee and give it a 2-10 minute wait and refresh again.
Set your email, name, and password to enter the dashboard.
9. Done
Let's build an awesome AI workflow now and change your life. 🚀
10. How to Update n8n?
It's important to keep your n8n version up to date. This ensures you get the latest features and fixes.

Additional Command
Show Running Containers id only:
sudo docker ps -qIf you want to see logs from all running containers, use:
sudo docker compose logsUse this command to view logs for a running or stopped container:
sudo docker logs <container_id or container_name>If you want to continuously stream logs, use:
sudo docker logs -f <container_id or container_name>
